
How to Disassemble Furniture for Moving Step by Step
Moving soon and worried your bulky furniture won’t fit through the door? You can learn how to disassemble furniture for moving in a few simple steps, and you can save time while you protect walls, floors, and fittings.

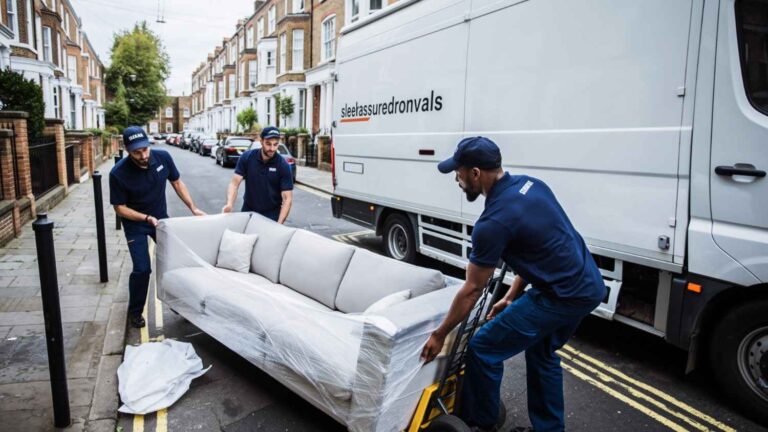
At Sleekassuredremovals, we help people move homes and flats across London, so we see what causes scratches, stripped screws, and reassembly stress. So in this guide, you’ll get a clear checklist, the right tools, and a quick plan to rebuild everything at your new place.
Key takeaways
- Take photos before you remove any screws, and use them as your rebuild map.
- Label every panel and bag hardware per item, so you never mix parts.
- Remove doors, shelves, and legs first, then split the big panels last.
- Wrap edges and corners before you load, because corners chip easily.
- Strap panels in the van, and place blankets between stacked parts.
- Rebuild loosely first, then tighten at the end, and do a wobble test.
- In London flats, measure doors, stair turns, and lifts early, so you know what must come apart.
How to Disassemble Furniture for Moving Without Damage

Empty the furniture and clear the space around it first. Next, take a few photos, label the parts, and put all screws and bolts into a clearly marked zip bag. Then remove legs, shelves, and doors in a safe order, and wrap everything with moving blankets or bubble wrap.
Finally, keep the hardware with the matching item, so reassembly stays quick. Most damage comes from rushing, so take five calm minutes at the start.
Quick definition: Furniture disassembly for moving means breaking big items into smaller, safer pieces for transport.
What Furniture Should You Disassemble Before Moving?
Start with furniture that feels bulky, loose, or hard to carry. Also, take apart anything that may not fit through a narrow doorway, tight stair turn, or lift.
You should usually disassemble:
- Bed frames (headboard, slats, rails)
- Wardrobes (doors, rails, shelves, mirrors)
- Large tables (legs, extension parts)
- Sofas with removable legs or modular sections
- Office desks with tops and side panels
However, you can keep smaller, sturdy items assembled if they fit easily. For example, a compact chest of drawers may move better in one piece if you remove the drawers or tape them shut.
Why Disassembling Furniture Makes Moving Safer
Taking furniture apart makes the whole move smoother and safer. It helps you avoid damage in tight spaces, and it also makes reassembly much less stressful later.
Protect furniture in tight spaces
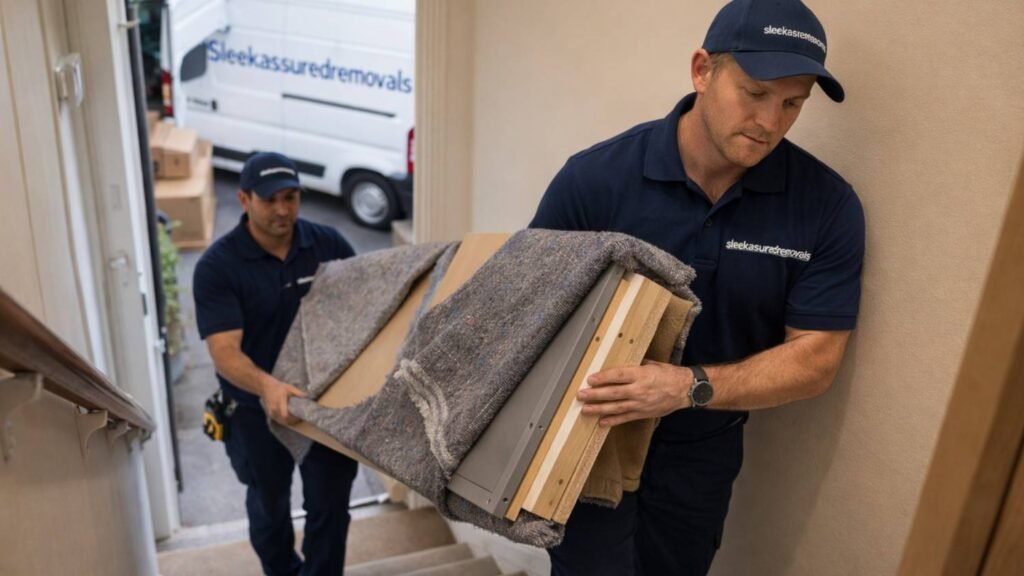
Scrapes and knocks can damage corners, hinges, and fabric. So when you remove legs, doors, and bulky parts first to avoid dents and scratches, especially in tight London stairs.
Save time with organised parts
One missing bolt can stop you from setting up your bed at night. So use photos, labels, and a separate hardware bag for each item to stay organised and rebuild faster. As one moving specialist says, “Photos and labelled bags save more time than any fancy tool.”
Step-by-step: disassemble furniture for moving
If you follow a simple system, you can dismantle furniture faster and avoid damage. So use these three steps to stay organised, protect parts, and make reassembly easy.
Step 1: Protect your space
Clear the space first, then place a blanket or cardboard under the item. Next, use good lighting and cover door frames or sharp corners with a folded blanket to prevent scuffs.
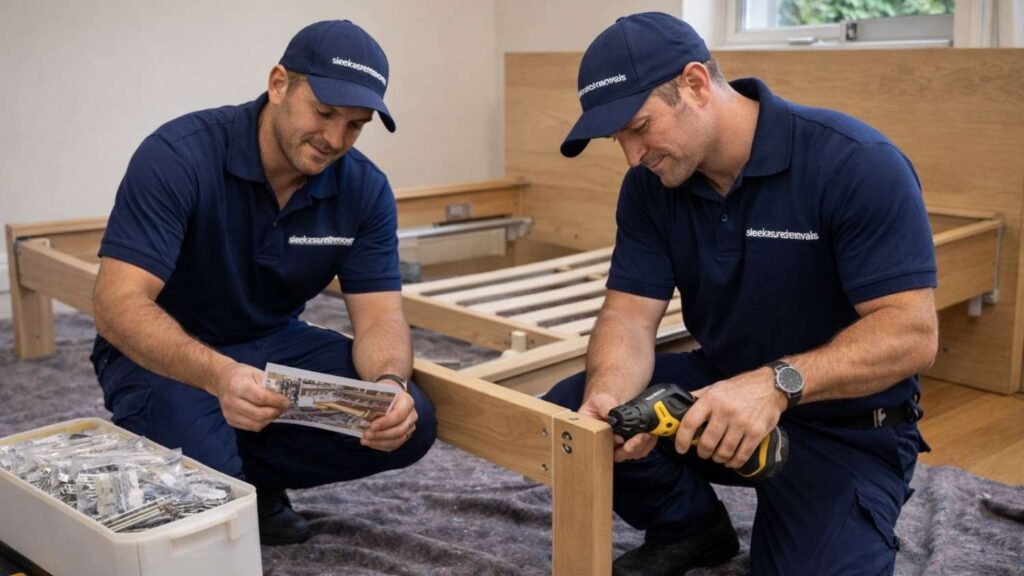
Step 2: Photo, label, and map the parts
Before you undo anything, take photos of the full item and each joint. Then label panels with painter’s tape and a marker, like “Wardrobe A — left panel.” Also, mark hidden edges with TOP and FRONT, so you rebuild without guessing.
Step 3: Bag hardware and remove parts in order
Use one labelled zip bag per item and tape it to the matching part. After that, remove shelves and drawers first, then doors, then legs, and split big panels last. Wrap edges with blankets or bubble wrap before loading.
How to Disassemble Common Furniture for Moving
Different furniture comes apart in different ways, so quick, item-specific steps help you avoid damage. So use these mini-guides to dismantle common pieces and rebuild faster later.
Bed frame and wardrobe
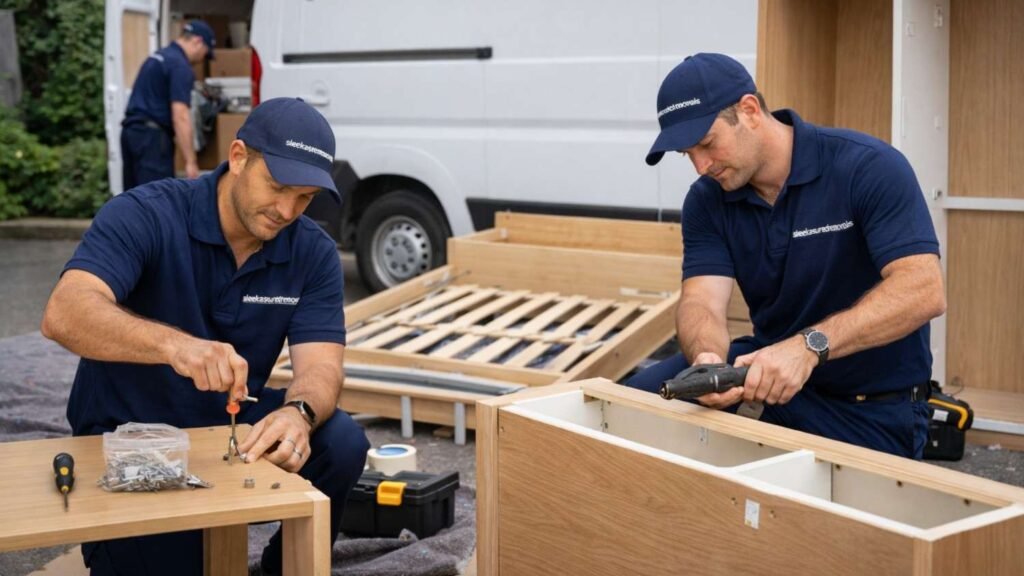
Remove bedding or contents first, then take a few photos of joints and rails. Next, take out slats, shelves, and drawers, then remove doors and panels in order, and bag bolts and washers together. If it’s flat-pack (like IKEA), keep the model name or manual link with the hardware bag.
Sofa and table
Remove sofa legs first and photograph any module connectors before you release clips or bolts. For tables, remove extension parts, then unscrew legs and braces, and wrap tabletop edges to prevent chips. Tape the labelled hardware bag to the matching main piece.
Desk and small office furniture
Photograph cable routes, then remove trays, drawers, and monitor arms. Next, detach the top if it unscrews, and bag small fittings like cam locks and dowels. Keep a “first-night” hardware bag for quick setup.
Packing & Protecting Disassembled Furniture in the Van
Wrapping matters just as much as disassembly, so wrap first and load with a plan. Put heavy items in first, then slide in large flat panels, and keep soft items for last.
Keep panels upright when possible, and strap them so they don’t move during the drive. If you lay panels flat, place a blanket between each one to stop rubbing and scuffs.
Quick packing checklist:
- Wrap corners and edges first
- Keep glass and mirrors separate and upright
- Tape the hardware bags to the matching part
- Put blankets between stacked panels
- Strap items so nothing shifts
Reassembling Furniture After Moving: Quick Checklist
Reassembly gets easier if you set up a simple “build zone” with good light, a blanket on the floor, and your parts box close by.
Fast reassembly checklist:
- Match each item to its labelled hardware bag
- Use your photos and start with the base frame
- Build loosely first, then tighten at the end
- Check alignment before you fully tighten
- Do a quick wobble test and retighten key joints
If a screw is missing, pause and check your labels and photos instead of forcing the wrong bolt.
London Flat Moving Tips: Stairs, Lifts, and Tight Access
London moves often come with tight access, so plan around the building as well as the furniture.
- Measure the narrowest point (doorway, stair turn, landing)
- Check lift size and any booking rules
- Protect hallway corners with a blanket
- Move small parts first if the street stays busy
- Pick the closest safe loading spot and keep the route clear
Example: In a third-floor Hackney flat, remove wardrobe doors and panels first. Then carry parts one by one and rebuild later using your labels.
Tools and Materials for Furniture Disassembly Checklist
Use simple tools you already have. However, choose the right tool size so you do not strip screws.
| Tool / Material | What you use it for | Quick tip |
| Allen key (hex key) | Flat-pack joints and bolts | Use the exact size to avoid rounding |
| Screwdriver set | Hinges, brackets, handles | Match the head to the screw every time |
| Marker + painter’s tape | Labels on panels and parts | Write TOP/FRONT on hidden edges |
| Zip bags | Screws, bolts, washers | Use one bag per item and label it clearly |
| Moving blankets | Panel and edge protection | Wrap edges first, then wrap faces |
| Bubble wrap/stretch wrap | Corners, fragile parts, bundles | Tape wrap to wrap, not to furniture |
| Measuring tape | Doors, stair turns, lift space | Measure the narrowest point first |
Final Tips and Moving Day Support in London
You can disassemble furniture for moving without stress when you follow a clear routine. First, take photos, label parts, and bag hardware per item. Next, remove sections in a safe order and wrap panels properly. Then rebuild using your photos, tighten at the end, and finish with a wobble test.
If you want a hand with furniture moves, packing, or careful loading in London, sleekassuredremovals can help. You can still use this guide, and you can also get support when your building access or schedule feels tight.
Frequently Asked Questions
Yes. Disassemble bulky or fragile furniture that may not fit through doors or stair turns. You also reduce damage risk and make loading safer.
You usually need an Allen key, a screwdriver set, painter’s tape, a marker, zip bags, and moving blankets. Also, a measuring tape helps you decide what must come apart.
Use one labelled zip bag per furniture item, and tape that bag to the matching part. Then keep a master parts box for spare fittings and tools.
Sometimes. If the item stays rigid and fits through your route, you can try moving it as one piece. However, many flat-pack items loosen during carrying, so disassembly often prevents damage.
Costs change based on item size, access difficulty, and time needed. If you face tight stairs, heavy pieces, or a short moving slot, professional help can save time and reduce damage risk.